


Candle memory (also called a memory ring) is the wax boundary your first burn leaves behind, and every burn after that tends to follow it. Prevent it by burning the candle for about 1 hour per inch of container diameter on that first light, until melted wax reaches the glass edge, according to the National Candle Association. Skip that step and you’re likely stuck with tunneling for the candle’s whole life.
A few ground rules before you strike the match:
- Never leave a burning candle unattended, even for a quick errand.
- Keep the wick trimmed to about 1/4 inch before each light.
- Burn on a flat, heat-safe surface away from drafts, vents, and curtains.
Get the first burn right and everything downstream, scent throw, wax use, burn time, works the way it’s supposed to.
Key Takeaways
Candle memory forms during the first burn, and a full melt pool reaching the glass edge, timed at roughly one hour per inch of diameter, is what prevents tunneling for good.
| Point | Details |
|---|---|
| First burn sets the pattern | Let the melt pool reach the container edge before extinguishing the flame. |
| Follow the 1 hour per inch rule | Match burn time to diameter: about 2 hours for a 2 inch candle, 4 for a 4 inch candle. |
| Trim the wick every time | Cut to 1/4 inch before each light to control flame temperature and reduce mushrooming. |
| Fix tunnels with patience | A 3 to 4 hour burn, low heat, or foil wrap can reset the surface, though scent may fade slightly. |
| Choose forgiving materials | Coconut-soy wax and wooden wicks, like those in Wick of Hope’s scented candles, resist tunneling and remelt more evenly. |
Table of Contents
- What Causes Candle Memory in the First Place?
- How Long Should Your First Burn Really Last?
- Simple Habits That Keep Every Burn Even
- Can a Tunneled Candle Actually Be Fixed?
- Does the Type of Wax and Wick Matter?
- How Wick of Hope Approaches Candle Care
- Why Prevention Beats Every Repair Trick Out There
- Ready to Burn Without the Guesswork?
- Frequently Asked Questions
- Sources
What Causes Candle Memory in the First Place?
Wax has no actual memory. What looks like memory is heat physics repeating itself. When you light a candle, the flame creates a small pool of melted wax around the wick. If you blow it out before that pool reaches the container’s edge, the wax hardens with a visible ring marking exactly how far the heat traveled.
That ring becomes the path of least resistance. Melted wax conducts heat more easily than solid wax sitting untouched at the edges, so the next burn reheats the same narrow pool instead of pushing outward. Repeat that pattern a few times and you get tunneling, a deep well down the center with a thick, wasted collar of unmelted wax around it.
The core fact: the first burn is the only one that sets the pattern. Every burn after just confirms it.
A few things worth knowing about how this plays out:
- Softer waxes reheat faster, so the “memory” forms quickly, sometimes in under an hour.
- The ring isn’t cosmetic. It changes how much wax actually melts on future burns, which shortens candle life.
- Once tunneling sets in, scent throw drops because less surface area is releasing fragrance oil into the air.
How Long Should Your First Burn Really Last?
The rule is simple: about one hour of burn time per inch of the candle’s diameter, straight through the National Candle Association’s guidance. Here’s what that looks like in practice:
- 2-inch diameter candle: burn for about 2 hours, or until the melt pool reaches the glass on all sides.
- 3-inch diameter candle: plan on roughly 3 hours for that first full pool.
- 4-inch diameter candle: give it closer to 4 hours, checking the wax surface rather than the clock alone.
Trim the wick to 1/4 inch before you strike the match. A longer wick burns hotter and less evenly, which can carve a narrow, fast tunnel instead of a wide, even pool. It also causes more soot and a shorter flame life overall.
Set up for success before you light: a flat, stable surface, no ceiling fans or open windows nearby, and enough uninterrupted time to actually finish the job.
Pro Tip: Check the wax surface, not just the clock. On a humid day or in a drafty room, a candle can take longer than the standard estimate to reach a full melt pool edge to edge.
Simple Habits That Keep Every Burn Even
Getting the first burn right buys you a good foundation. Keeping it that way is a matter of repeatable habits, not luck.
- Match each burn session to the container’s diameter, roughly the same hour-per-inch logic applies every time, not just on day one.
- Keep the candle level and out of drafts. A tilted candle or a stray breeze from an air vent pulls the flame sideways and melts wax unevenly.
- Trim the wick before every relight, not just the first one. A wick left untrimmed will “mushroom,” a carbon buildup at the tip that makes the flame flare, smoke, and burn hotter than it should.
- For candles with two or three wicks, let all wicks burn together so the melt pools merge into one even surface instead of leaving un-melted ridges between them.
- Rotate larger candles occasionally if you notice the melt pool pulling toward one side, often a sign of a draft you hadn’t noticed.
None of this takes extra time. It just means treating burn number ten the same way you treated burn number one.
Can a Tunneled Candle Actually Be Fixed?
Yes, in most cases, though results vary by wax type and how deep the tunnel has gotten. The Wax Chandler outlines a few reliable approaches:
- Long controlled burn. Let the candle burn for several hours straight, giving the melt pool time to slowly widen toward the glass edge.
- Low heat from a hairdryer or heat gun. Aim it at the wax surface on the lowest setting, keeping it moving so no single spot overheats.
- Aluminum foil wrap. Wrap foil around the top of the jar, leaving the center open, to trap heat and melt the hardened collar evenly.
- Scrape and level. Once softened, gently scrape excess wax down with a butter knife so the surface sits flat again.
Expect this to take one long session, not a quick five-minute fix, and know that scent throw may be slightly weaker afterward since some fragrance oil has already evaporated from repeated partial burns.
Pro Tip: Fixing a tunneled candle with a hairdryer works best when you keep the heat moving and a few inches back from the glass. Holding it still in one spot risks cracking the container, especially with glass that’s already been through several burn cycles.
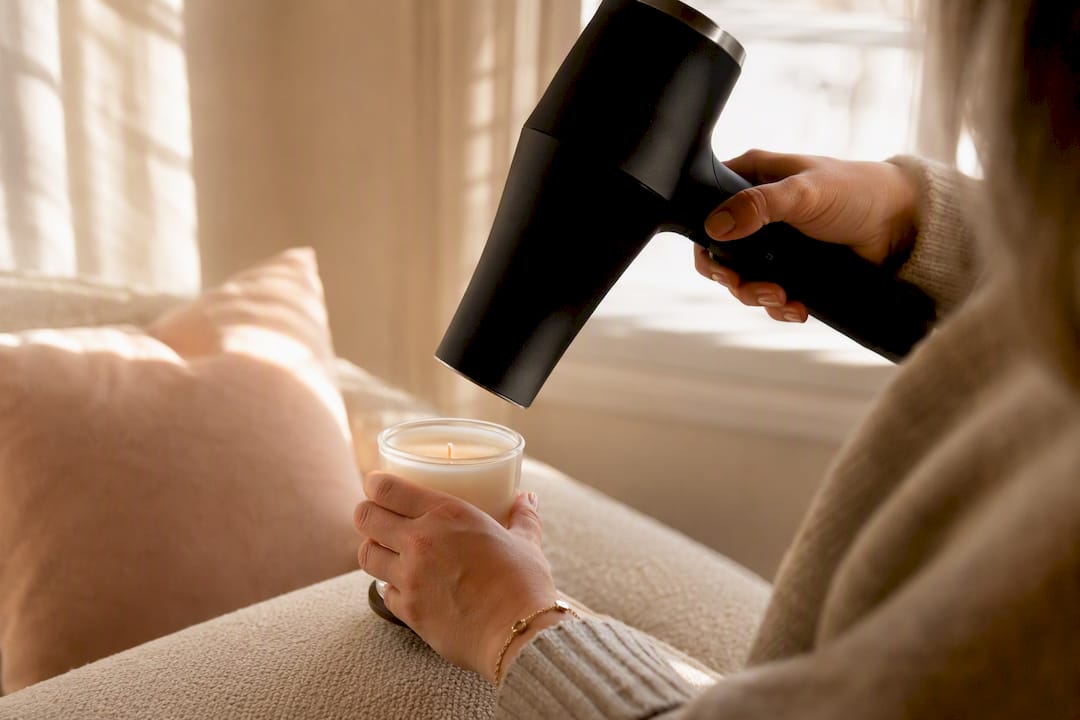
If the tunnel is deep enough to expose the wick’s base or if the glass looks stressed or discolored, it’s safer to retire the candle than risk it.
Does the Type of Wax and Wick Matter?
It matters more than most people expect. Softer wax blends, like soy and coconut soy, tend to be easier to reset than harder waxes like paraffin or beeswax, because they reheat and remelt more evenly under gentle warmth. That’s part of why coconut-soy candles are more forgiving when a burn gets cut short.
Wick choice plays just as big a role:
- Wooden wicks tend to burn at a steadier, lower temperature than cotton wicks, which helps prevent the narrow, fast tunneling that comes from an overly hot flame.
- Multi-wick designs, common in larger jars, are meant to melt from several points at once so the pools meet near the edges instead of leaving a ring behind.
- Wick size has to match the container diameter. A wick that’s too small for a wide jar simply can’t generate enough heat to melt the wax all the way out, no matter how long you burn it.
When shopping, look for a coconut-soy blend, a wick sized appropriately for the container, and multiple wicks on anything wider than about 3 inches.
How Wick of Hope Approaches Candle Care
Prevention advice only helps if the candle is actually built to cooperate with it. Wickofhope’s own candle care guidance walks through the same first-burn and wick-trimming principles covered here, because the coconut-soy wax and FSC-certified wooden wicks used across the line are chosen specifically to reheat evenly and resist deep tunneling.
A few ways the product lineup reflects that:
- The coconut-soy blend melts more evenly than straight paraffin, giving the first burn a better shot at reaching the glass edge.
- Wooden wicks burn at a steadier temperature, which lowers the odds of the narrow, fast tunnel a hot cotton wick can cause.
- Every fragrance in the scented candle collection follows the same construction, so the care routine you learn here applies across the catalog.
That approach has held up with customers: Wickofhope holds a 4.9-star rating across more than 650 reviews.
| What to check | Why it matters |
|---|---|
| Wax type | Coconut-soy remelts more evenly than paraffin. |
| Wick material | Wooden wicks burn cooler and steadier than standard cotton. |
| First burn time | Follow the 1 hour per inch rule for a full melt pool. |
Why Prevention Beats Every Repair Trick Out There
Most candle content treats tunneling as a fixable annoyance, something you patch with a hairdryer and move on. That framing undersells how much is lost in the process. A repaired candle can look fine on the surface, but the fragrance oil that evaporated during those extra remelt cycles doesn’t come back, and a glass container that’s been through a hairdryer session isn’t quite as durable as one that never needed it.
The conventional advice also tends to bury the first-burn rule under a pile of repair tips, as if fixing tunneling were the main skill to learn. It isn’t. The one hour per inch rule is the whole game. Everything else, foil wraps, low heat, careful scraping, is damage control for a mistake that took thirty extra minutes to avoid in the first place.
If you take one thing from this, let it be patience on burn one. A candle that gets its full melt pool early rewards you with better scent, longer life, and one less thing to troubleshoot later.
Ready to Burn Without the Guesswork?
If tunneling has been an issue with candles you’ve bought before, the fix often starts before you even light the wick, with materials built to reheat evenly in the first place. Wickofhope makes that easier by pairing coconut-soy wax with FSC-certified wooden wicks across the entire line, so following the one hour per inch rule actually produces the even melt pool it’s supposed to.
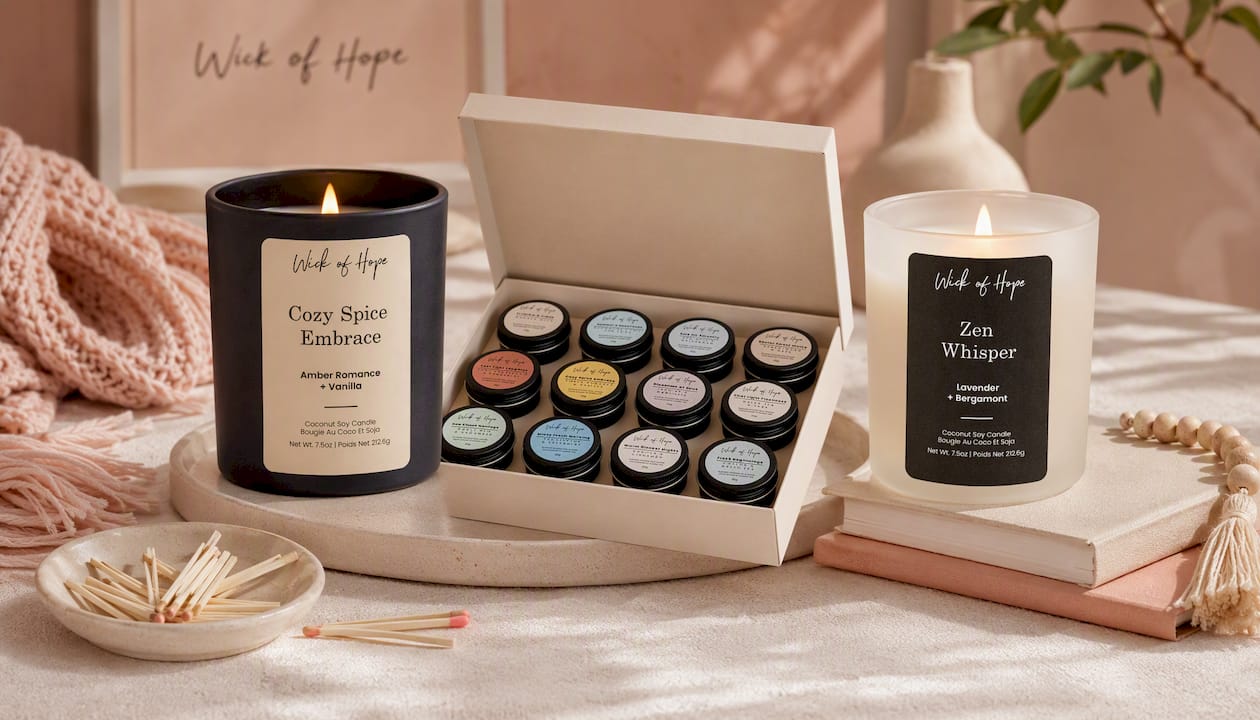
For a low-risk starting point, the Crackle & Calm Candle is unscented and lets you focus purely on burn technique without fragrance variables in the mix. Want something with scent from the start? The Evergreen Stillness Candle and Ciderwood Candle both follow the same coconut-soy, wooden-wick build. Every purchase also funds crisis support for women and children, so the candle you pick today does more than fill a room with scent. Browse the collection and choose your first burn.
Frequently Asked Questions
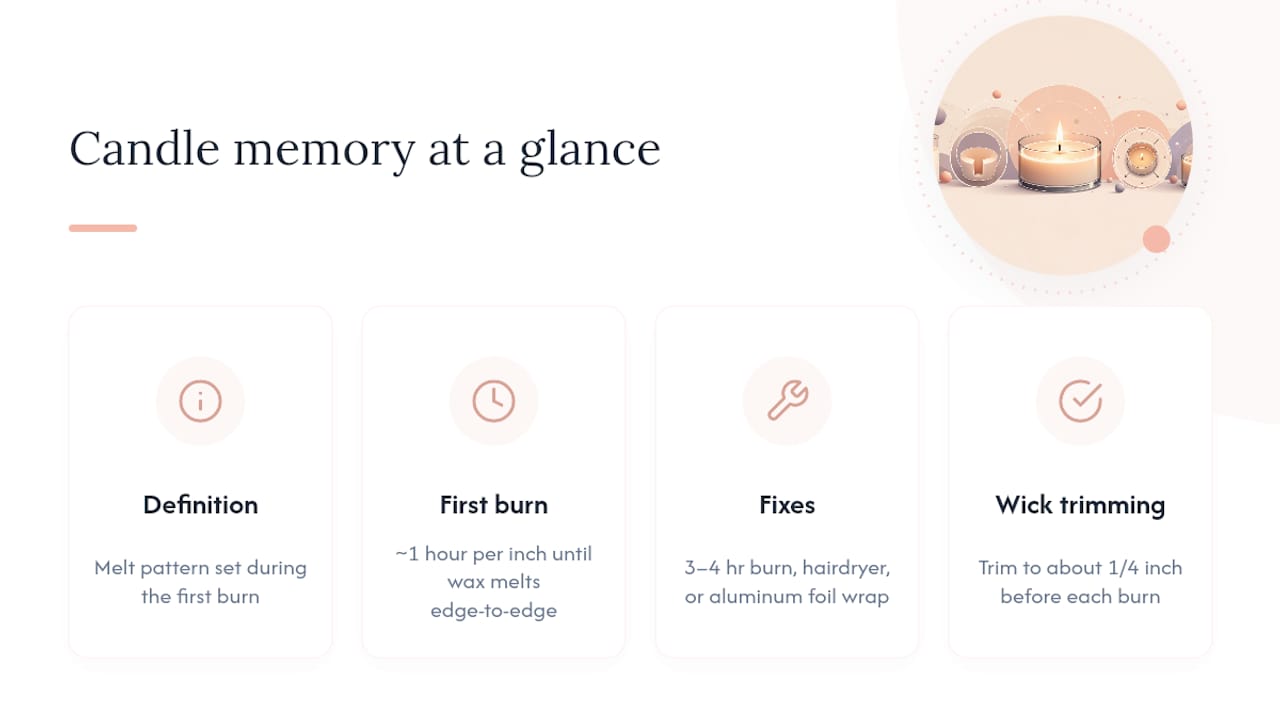
What is candle memory? Candle memory is the melt pattern a candle sets during its first burn. If the wax doesn’t melt all the way to the container edge on that first light, future burns tend to follow that same narrow boundary, leading to tunneling.
How long should I burn a candle the first time? Follow the National Candle Association’s guidance of about one hour per inch of container diameter, or until the wax has fully melted from edge to edge.
Can a candle with a memory ring be fixed? Often, yes. A long controlled burn of 3 to 4 hours, low heat from a hairdryer, or an aluminum foil wrap can help remelt the hardened wax evenly, though scent throw may be slightly reduced afterward.
Does wick trimming actually help prevent tunneling? Yes. Trimming the wick to about 1/4 inch before each burn keeps the flame at a steady temperature, which supports an even, wide melt pool instead of a narrow, hot tunnel.
Are some candles less likely to develop memory issues? Candles made with coconut-soy wax blends and wooden or multiple wicks tend to remelt more evenly and resist tunneling better than paraffin candles with a single cotton wick.
Sources
- Your Foolproof Guide to Burning a Candle Correctly - National Candle Association
- Candle Science: Understanding The Memory Of Wax | CyCandle
- Why Do Candles Have Memory? - The Wax Chandler
- How to Fix Candle Tunneling: A Guide to Saving Your Candles – The Flaming Candle


