


For most jars, the easiest fix is the freezer: pop the jar in overnight and the wax contracts enough to lift out in one piece. For heavier buildup or stubborn residue, boiling water melts it faster. Either way, never pour hot wax down the sink, and let glass cool naturally to avoid cracking it. A handful of tested methods below cover every jar type and time budget.
TL;DR:
- Freezing is the easiest method, especially for light wax buildup, because it causes the wax to contract and release easily with gentle tapping.
- Boiling water melts the wax quickly and allows it to solidify into a removable disc, but it is risky for narrow-neck or delicate jars unless a bain-marie is used.
- Oven heating is effective for multiple jars at once, provided it stays below 200°F and delicate finishes are protected with indirect heat.
- Quick spot fixes like a hairdryer or ice cubes are suitable for light wax smears, but larger amounts require freezing or boiling methods.
- Removing the wick tab and sticky labels requires gentle heating and solvent application, as leftover residue can contaminate recycling processes.
Table of Contents
- How Do You Remove Candle Wax From a Jar?
- Freezer Method: The Easiest Way To Pop Wax Out
- Boiling Water Method for Stubborn or Thick Wax
- Can You Use the Oven To Clean Multiple Candle Jars at Once?
- Quick Spot Fixes for Small Wax Smears
- Removing the Wick Tab and Sticker Residue
- Safety Rules Every Jar Cleaner Should Know
- Wick of Hope’s Approach to Wax-Free, Reusable Jars
- What To Do With a Cleaned Candle Jar
- A Straightforward Take on Reusing Candle Jars
- Sources
- FAQ
How Do You Remove Candle Wax From a Jar?
Cold and heat are the two tools that do all the real work here, and which one you reach for depends on your jar, your wax, and how much patience you have that day. Coconut soy blends tend to release cleanly with either approach, since natural waxes shrink predictably when chilled and melt evenly when warmed. Paraffin can be stickier and sometimes needs an extra round.
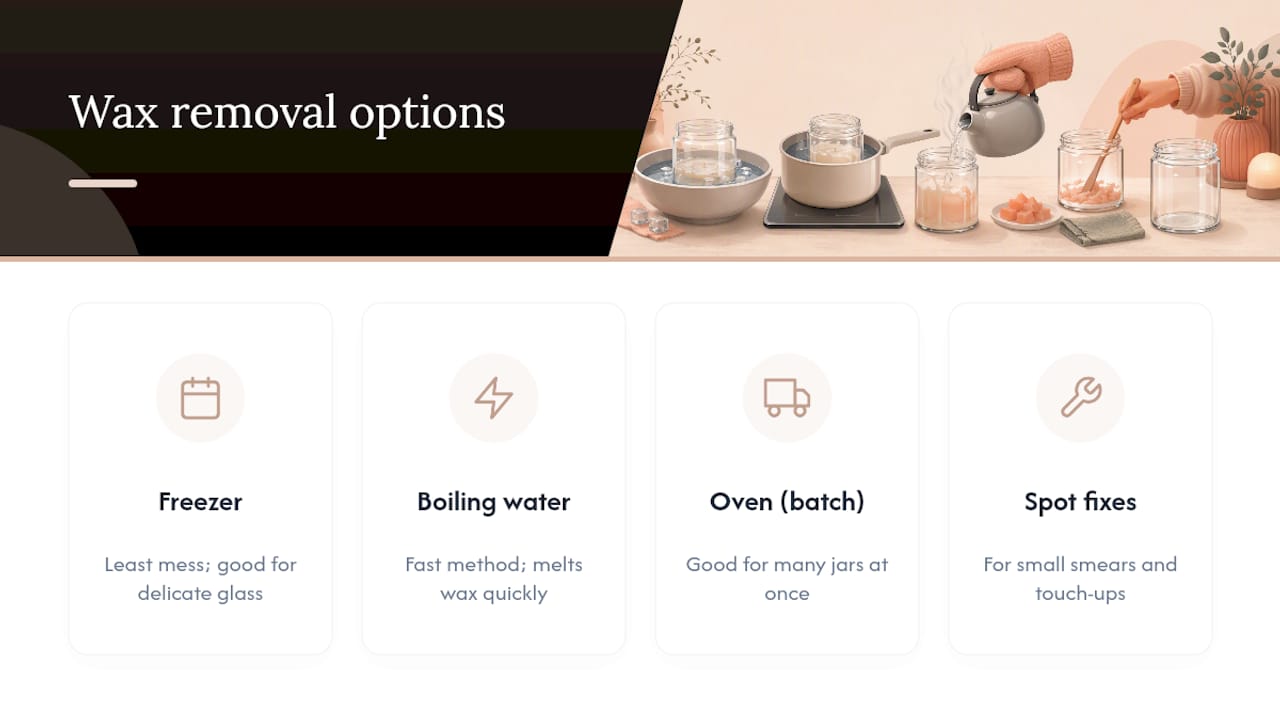
Below, you’ll find the freezer method for the least mess, boiling water for speed, an oven approach for batch jobs, and a few spot fixes for small smears. Pick based on how much wax is left and whether the glass is delicate.
Freezer Method: The Easiest Way To Pop Wax Out
Cold makes wax brittle and causes it to contract slightly, pulling it away from the glass walls. That gap is what lets the whole disc pop free instead of clinging stubbornly to the sides.
- Scrape out any loose or melted wax pooled at the top with a spoon.
- Set the jar in the freezer for a few hours if the buildup is light, or overnight for a thick layer.
- Remove the jar and turn it upside down over a towel, giving it a firm but gentle tap on the bottom.
- The wax should slide or crack loose in large chunks. Use a plastic scraper, not metal, to loosen any stragglers.
- Pull out the wick and remove hardened wax that’s still attached to the tab.
This method works best on thick-walled jars in good condition, according to research on freezer timing for wax removal. Skip it on thin, chipped, or already-stressed glass. Rapid cold can widen a hairline crack you didn’t notice.
Pro Tip: Skip the metal butter knife. A firm plastic scraper (or even an old gift card) pops wax loose without leaving scratch marks that dull the glass over time.
Boiling Water Method for Stubborn or Thick Wax
When the freezer isn’t practical, or the wax layer is too thick to crack in one piece, boiling water gets the job done faster. Heat melts the remaining wax, and it floats to the surface, according to The Spruce’s testing of jar cleaning methods. Once the water cools, that melted layer re-hardens into a solid disc you can lift straight out.
- Fill the jar most of the way with boiling water, leaving about an inch of headspace so it doesn’t overflow.
- Let it sit undisturbed until the water returns to room temperature. Do not rush this by adding ice or cold water.
- Once fully cooled, the wax will have solidified into a disc floating on top. Lift it out by hand or with a fork.
- If a film remains, repeat the process, since it’s usually faster the second time.
- Wipe the inside dry and check for lingering residue before moving to cleanup.
This is often the fastest single-jar method and one you can repeat as many times as needed without extra equipment, per The Spruce’s guidance on cooling and straining wax.
Never pour the wax or wax-laden water straight down an indoor drain. It re-solidifies inside the pipe and can cause a clog that’s expensive to clear. Let the wax disc cool completely, then toss it in the trash or set it aside for repurposing.
Narrow-neck or heavily decorated jars don’t do well with direct boiling water poured straight in, since sudden heat against a fragile rim risks cracking. For those, use a bain-marie instead: set the jar in a larger pot of simmering water so the heat transfers gradually, protecting both the glass and any painted finish. This indirect approach is the safer default whenever you’re not sure how the glass will react, according to safety guidance on jar reuse.
Can You Use the Oven To Clean Multiple Candle Jars at Once?
Yes, and it’s the most efficient option if you’ve got a stack of jars piling up on a shelf. Low, indirect heat melts the wax out without babysitting each jar individually.
- Preheat the oven to a low setting, between 170°F and 200°F. Anything higher risks damaging finishes.
- Line a baking sheet with foil or parchment paper to catch dripping wax.
- Place jars upside down on the lined sheet and bake for 10 to 20 minutes, checking after 10.
- Wipe the rim and interior with a paper towel while the jar is still warm. Wax wipes away more easily hot than cold.
- Let jars cool fully on the counter before washing with soap and water.
- Never leave the oven unattended, and keep the temperature under 200°F at all times.
If any jars have metallic paint, gilding, or a delicate decorative coat, skip the oven and use a bain-marie instead. Indirect heat protects the finish while still melting the wax free.
Quick Spot Fixes for Small Wax Smears
Not every jar needs a full soak or overnight freeze. For a light smear or a few drips near the rim, a quick fix often does the trick.
- Hairdryer or heat gun: Hold it 4 to 6 inches from the glass, keep it moving in slow circles, and wipe the softened wax immediately with a paper towel.
- Ice cube trick: Drop a few cubes into the jar and let them sit for 15 to 30 minutes. The cold chills the wax fast enough to chip it out with a plastic scraper, a timing range confirmed in The Spruce’s spot-cleaning tests.
- Skip the microwave entirely. Metal wick tabs and unknown glass finishes make microwaving unpredictable and genuinely risky.
These quick methods work for small jobs. If you’re looking at a jar with a half-inch of hardened wax across the bottom, step up to the freezer or boiling water instead.
Pro Tip: Letting temperature do the work beats aggressive scraping every time. A little patience with the ice trick or a warm hairdryer saves your glass from scratches a metal tool would leave behind.
Removing the Wick Tab and Sticker Residue
Once the bulk wax is gone, two small details stand between you and a reusable jar: the metal wick tab and any sticky label residue.
- Warm the base slightly with a hairdryer for a few seconds to loosen the tab’s adhesive.
- Use tweezers to lift it out gently. Don’t yank if it feels stuck, since forcing it can chip the glass.
- Soak the jar in warm soapy water for 10 to 15 minutes to loosen the label.
- Peel off what you can, then rub isopropyl alcohol or an adhesive remover like Goo Gone over any leftover glue.
- Hand wash with warm soap and water for a final clean. Skip the dishwasher on decorated or painted jars, since detergent and heat can strip the finish.
If you’re planning to recycle rather than reuse, note that most facilities reject jars with wax or adhesive residue still inside, since it contaminates the sorting process. A quick check before you toss one saves it from landing in a landfill instead.
Safety Rules Every Jar Cleaner Should Know
A few non-negotiables keep this process from turning into a bigger cleanup than the wax itself.
- Let glass reach room temperature before applying hot water or oven heat. Jumping straight from a cold fridge to boiling water risks thermal shock and cracked glass.
- Never pour melted wax down a sink. Let it cool in the jar or a disposable container, then trash it.
- If a jar cracks or shatters during any step, stop using it immediately and dispose of it. Don’t try to salvage it for food storage.
- If residue lingers after washing, a rag dampened with isopropyl alcohol or a degreaser usually finishes the job. If wax keeps reappearing after multiple attempts, it’s time to retire that jar for good.
Wick of Hope’s Approach to Wax-Free, Reusable Jars
Guidance is available for readers who want to remove wax from glass jars and reuse them, along with a breakdown of what to check before recycling a candle jar. That focus on reuse fits candles made with coconut soy wax, FSC-certified wooden wicks, and biodegradable packaging, designed to support women and children escaping crisis.
The same care that goes into a clean burn is behind the cleanup advice, too. A candle designed without the toxins found in mass-produced wax should leave behind a jar worth keeping, not tossing.
What To Do With a Cleaned Candle Jar
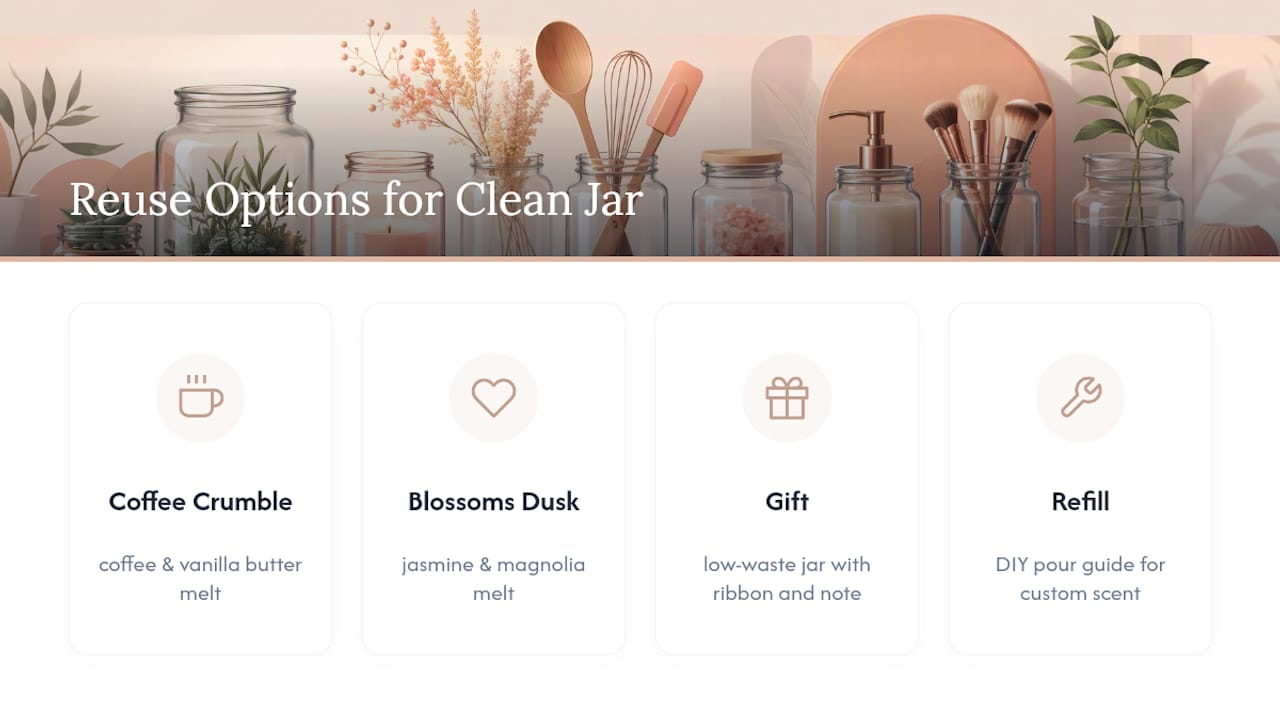
Once your jar is spotless, it’s ready for a second life. Fill it with a wax melt for gentle scent without another wick to light, or hand it off as a small gift on its own.
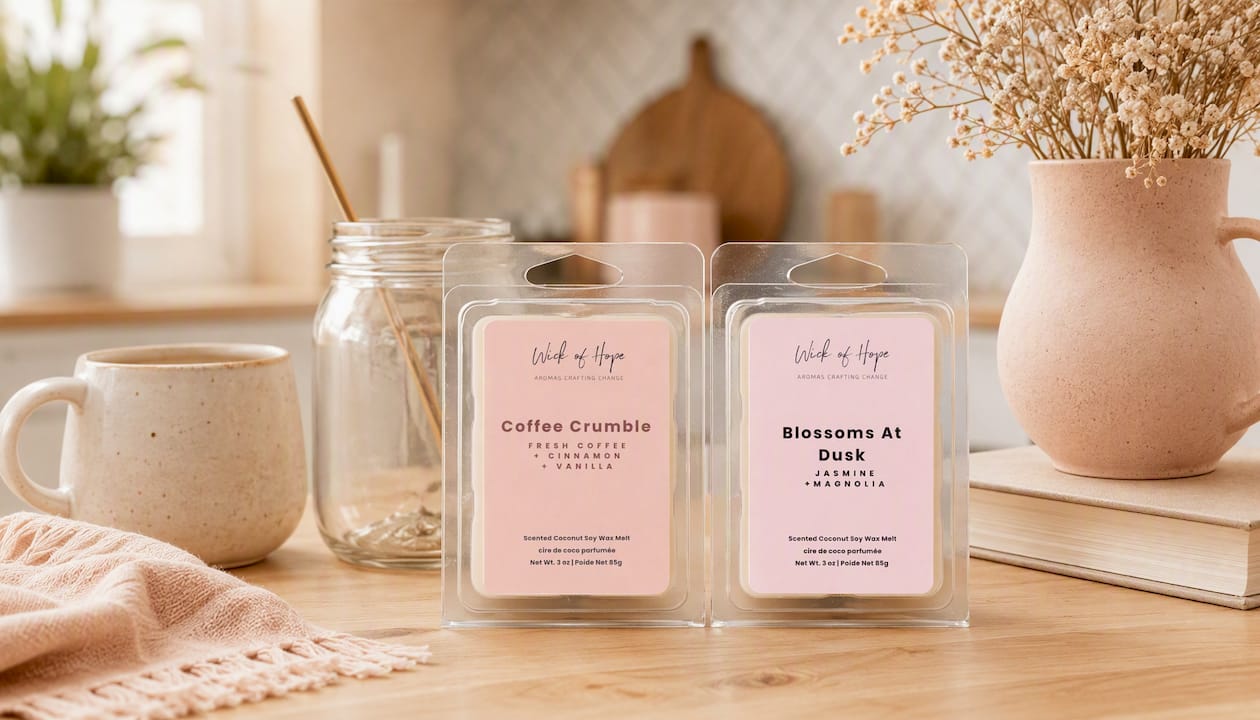
The Coffee Crumble Wax Melt, a blend of fresh coffee and vanilla butter, works well dropped into a cleaned jar and warmed on a melt tray for a cozy, kitchen-table scent. It’s a simple way to give a jar purpose again without buying a whole new vessel.
If you want something floral instead, the Blossoms At Dusk Wax Melt pairs jasmine and magnolia for a softer, evening scent. Both melts fit neatly into a repurposed jar as a low-waste gift, especially when paired with a ribbon or a handwritten note. If you’d rather try making your own pour from scratch, a DIY candle-making guide can walk you through refilling that same jar with a custom scent blend.
Whichever you choose, you can browse the full collection of candles online to find a scent worth pouring into a jar you already worked hard to clean.
A Straightforward Take on Reusing Candle Jars
Most guides overcomplicate this. Freezing or boiling wax out of a jar isn’t a skill, it’s patience with a couple of safety rules attached. What actually separates a good result from a cracked jar in the trash is respecting temperature change and never rushing the cooling step. Low-waste reuse only works if the process itself doesn’t waste a jar in the process.
— Andy
Sources
For deeper detail on any single method covered here, these sources go step-by-step: Home Upright’s freezer method guide, The Spruce’s full wax removal roundup, Bob Vila’s oven cleaning method, and WonderHowTo’s jar reuse safety guide.
- How to Remove Candle Wax From Jar - Home Upright
- Goo Gone adhesive remover — WhiskNYC product page
- Ways to get candle wax out of a jar — The Spruce
- How to reuse candle jars safely — Housekeeping :: WonderHowTo
FAQ
Does Dawn Dish Soap Remove Candle Wax?
Dawn can help cut through thin, greasy wax residue once the bulk wax is already removed, but it won’t dissolve a thick layer on its own. Pair it with a warm soapy soak, then follow with rubbing alcohol for any leftover film.
What Dissolves Candle Wax Naturally?
Heat is the most reliable natural approach. Boiling water or gentle oven warmth melts wax cleanly without chemical solvents, and isopropyl alcohol handles any stubborn residue left behind afterward.
Can You Boil a Candle Jar To Get the Wax Out?
You don’t boil the jar itself. You pour boiling water into it, let the water cool completely, and lift out the hardened wax disc that forms on the surface once it re-solidifies.
Does Vinegar Remove Wax From Glass?
Vinegar isn’t the go-to fix here, since it doesn’t melt or loosen wax the way heat does. Stick with the freezer or boiling water method first, then use rubbing alcohol for any remaining sticky film.


