


The core of good wood wick care comes down to five habits: trim the wick to about 1/8" before every burn, clear away charred debris, let the first burn form a full melt pool, cap each session at 2 to 4 hours, and keep the candle away from drafts. Skip any one of these and you’ll likely end up with tunneling, a weak flame, or a wick that just won’t relight.
Before you strike a match, run through this:
- Trim the wick to a short length and brush off any charred bits.
- Set the candle on a level, heat-safe surface, away from vents or open windows.
- Let the first burn run 2 to 4 hours, until the wax melts edge to edge.
- Cap every burn session at 2 to 4 hours, not longer.
- Store the candle in a cool, dry spot with the lid on between uses.
Stop burning immediately if the glass cracks, the flame flickers wildly, or the jar feels hot to the touch. Those are signs to extinguish and set the candle aside for good.
Key Takeaways
Wood wick care succeeds when you trim before every burn, allow a full first melt pool, and cap sessions at 2 to 4 hours to prevent tunneling and premature wick failure.
| Point | Details |
|---|---|
| Trim before every burn | Cut the wick to about 1/8" and clear charred debris so it can draw wax properly. |
| Respect the first burn | Let the melt pool reach the jar’s edge, typically 2 to 4 hours, to set an even wax memory. |
| Cap session length | Burn for 2 to 4 hours at a time to avoid overheating the glass or tunneling the wax. |
| Fix a wick that won’t stay lit | Trim, clear debris, blot excess wax, and check for drafts before relighting. |
| Start simple with a tealight | Wickofhope’s tealight uses coconut soy wax and FSC wooden wicks for an easy, clean burning first try. |
Table of Contents
- Preparing a New Wood Wick Candle for Its First Burn
- How to Light Wooden Wicks the Right Way
- How Often Should You Trim a Wooden Wick?
- Why Won’t My Wooden Wick Stay Lit?
- Safe Placement, Burn Times, and How to Put Out the Flame
- How Long Should a Wood Wick Candle Actually Last?
- Cleaning Out Jars and Giving Them a Second Life
- When You Can Trust Wooden Wick Care Advice
- Sources
Preparing a New Wood Wick Candle for Its First Burn
That first burn sets the tone for everything after it. Wax has a kind of memory: melt it evenly to the glass edge the first time, and it will keep melting that way. Skip that step, and the candle will tunnel down the middle for the rest of its life.
Here’s the sequence to follow:
- Peel off any shipping labels or plastic wrap, especially anything near the wick.
- Trim the wooden wick to about 1/8" if it hasn’t been trimmed already.
- Place the candle on a flat, heat-resistant surface, clear of curtains, papers, or shelving above it.
- Light it and let it burn until the melt pool reaches the glass on all sides, typically 2 to 4 hours depending on jar size.
Pro Tip: If you’re trying a new scent for the first time, slide a shallow tray or coaster under the jar. Wooden wicks occasionally pop a little soot or wax during that first burn, and a tray saves your shelf.
How to Light Wooden Wicks the Right Way
Wooden wicks don’t behave like cotton ones, and lighting them well starts with patience. Use a long match or a barbecue-style lighter, hold the flame along the exposed wood for a few seconds, and let it catch fully before pulling away. Cotton wicks light instantly and burn with a tall, narrow flame. Wooden wicks take a moment longer to ignite, then settle into a wider, lower flame with a faint crackle, a burning pattern that improves fragrance throw but demands more attention during that first melt.
Once it’s lit, here’s what to watch for:
- Check the wick length before striking a match. It should sit close to that 1/8" mark, not charred or overly long.
- Confirm the candle sits somewhere free of drafts, ceiling fans, or open windows.
- Watch the melt pool over the first burn. It should widen steadily and reach the jar’s edge.
Manufacturer guidance recommends a first burn of about 3 to 4 hours so the wax fully reaches the glass. Cut that burn short, even by an hour, and you risk locking in a tunnel that’s tough to reverse later.
How Often Should You Trim a Wooden Wick?
Trim before every single burn, not just the first one. A wooden wick chars as it burns, and that blackened tip has to come off or the wick won’t draw wax properly the next time you light it.
A quick routine keeps this simple:
- Inspect the wick for char, splitting, or leftover soot before lighting.
- Trim to about 1/8", using a wick trimmer, small scissors, or nail clippers.
- Brush loose debris off the wax surface so it doesn’t fall back into the pool.
- Set the candle on a level, heat-resistant surface before relighting.
Removing the blackened wood and clearing debris from the wax keeps the flame from struggling to catch — a step people skip more than any other.
Pro Tip: A dedicated wick trimmer gives you the cleanest cut, but honest truth: nail clippers work just as well and you probably already own a pair. Scissors tend to crush the wood instead of slicing it clean, so reach for clippers if you’re improvising.

Why Won’t My Wooden Wick Stay Lit?
A wooden wick that won’t stay lit is almost always one of five things: it’s too long, too short, charred, drowning in melted wax, or fighting a draft. High fragrance concentration can also smother a flame that’s already struggling.
Work through the fixes in this order:
- Trim and clear char first. This solves the majority of relighting problems on its own.
- Check for drowning. If the wick is sitting in a pool of wax, blot the excess with a paper towel before relighting.
- Reset the wax memory. If the candle has been tunneling, let it burn longer than usual so the pool can catch up to the edges.
- Fix tunneling directly. Tent a piece of aluminum foil over the jar to redirect heat toward the hardened edges, or carefully scrape rim wax inward with a spoon once the candle has cooled.
- Check for drafts. Ceiling fans, HVAC vents, and open windows all pull a wooden wick’s flame sideways and can snuff it out.
Never leave a foil dome unattended, and let the jar cool completely before scraping wax near the glass edge.
Safe Placement, Burn Times, and How to Put Out the Flame
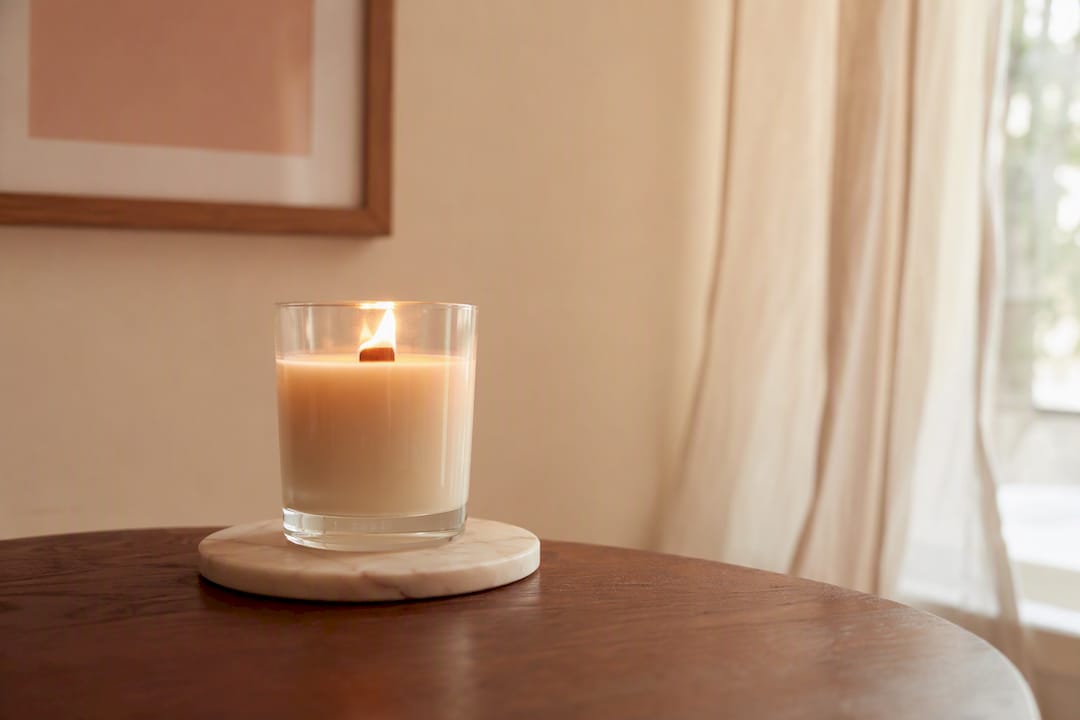
Every burn starts with the same short checklist: level, heat-resistant surface; at least 12 inches from anything flammable; no drafts; and someone actually watching it. Wooden wicks burn hot enough that an unsupervised candle near curtains or paper is a real risk, not a small one.
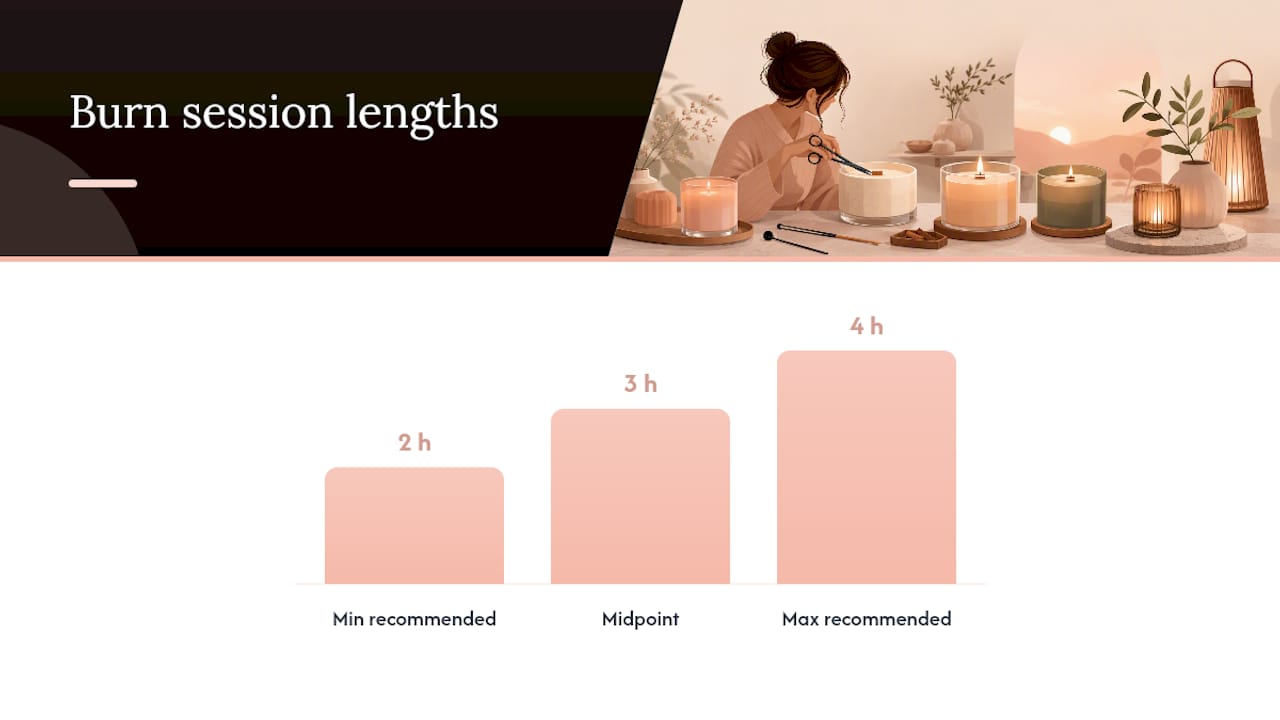
Keep sessions between 2 and 4 hours. Push much past that and the glass itself starts absorbing more heat than it’s built to handle, which can stress the jar over repeated long burns.
To extinguish it properly, use a snuffer or blow gently, then trim any lingering ember off the wick. Don’t dunk the wick in the wax to smother it and don’t pour water on it.
A few firm don’ts:
- Don’t leave a burning candle unattended, even for a few minutes.
- Don’t move a lit candle from one surface to another.
- Don’t let children or pets linger near an open flame.
- Don’t let the flame burn down to where it touches the jar rim.
If the glass ever cracks or the flame starts jumping unpredictably, extinguish it right away and don’t relight that candle again.
How Long Should a Wood Wick Candle Actually Last?
Total burn time comes down to four things: how much wax the jar holds, the wick’s size, how heavily it’s scented, and how you burn it session to session. Some wooden-wick products list a burn life in the 50 to 65 hour range, though jar size and wax type shift that number in either direction.
What shortens that lifespan fastest:
- Frequent short burns under an hour, which cause tunneling instead of an even pool.
- Marathon sessions well past 4 hours, which stress the wick and the glass.
- Heavy drafts that force the flame to work harder than it should.
Keep your burn sessions consistent and trim before each one, and you’ll get closer to the candle’s full advertised burn time instead of losing hours to a tunnel down the middle.
Cleaning Out Jars and Giving Them a Second Life
Once a candle burns down, don’t toss the jar. Let it cool completely, pop out any leftover solid wax, and clean out the rest with one of these methods.
- Freezer method: Chill the jar for a couple of hours. Cold wax contracts and often pops loose in one piece.
- Hot water soak: Fill the jar with hot water (check that the glass is rated for it first) and let residual wax float to the top for easy scooping.
- Scrape and wipe: Use a plastic scraper, not metal, to avoid scratching the glass, then wipe with a paper towel and mild soap.
Peel off the label, wash with soap and water, and let the jar air dry fully before reusing it. A cleaned candle jar makes a solid pen holder, a small planter, or a catch-all for jewelry, but skip using it for open food storage since wax residue can linger in tiny surface scratches.
When You Can Trust Wooden Wick Care Advice
The habits in this guide (trimming, full first burns, sensible session limits) aren’t guesswork. They come straight from how wooden wicks are built and how they respond to heat, wax, and airflow. The wider, quieter flame a wood wick produces is part of what makes fragrance throw stronger, but it’s also exactly why trimming and full melt pools matter more than they do with a thin cotton wick.
A few things worth checking before you buy or relight anything:
- Look for coconut soy wax and FSC certified wooden wicks. Cleaner wax burns more evenly and produces less soot to clog the wick.
- Trust a brand with a track record. A 4.9 star rating across more than 650 reviews says a lot about consistency, batch to batch.
- Retire a candle the moment the wick repeatedly won’t relight, the flame turns erratic, or the glass shows any crack.
Get those fundamentals right and most of the “my wick won’t stay lit” problems solve themselves before they start.
One Candle Lover’s Honest Take
I’ve watched more candles get written off as “defective” than actually deserved it, and almost every time the real issue traced back to a first burn that got cut short or a wick that never saw a trim. Wooden wicks reward a little patience; they punish neglect fast, and unevenly. Follow the candle care routine here consistently, and most of what looks like a bad batch turns out to be a fixable habit.
A Simple Way to Try Wood Wick Care for Yourself
If you want to see everything in this guide play out in a smaller, lower-stakes format, a wooden wick tealight is the easiest place to start. It burns through a full session in a fraction of the time a jar candle takes, so you get to practice trimming and watching a melt pool without committing to a four-hour sit.

Wickofhope builds its tealights from natural coconut soy wax and FSC certified wooden wicks, the same clean burning combination used across the full candle line. Every purchase also puts a portion toward supporting women and children escaping crisis, so the candle on your shelf is doing more than setting a mood. If a jar-style candle appeals to you instead, Fracture Club’s soy wax candle is worth a look too. Either way, grab a tealight and put the trimming and lighting steps from this guide into practice tonight.
Sources
- Repairing Your Woodwick Candle: A Quick Guide | CyCandle
- Why Your Wood Wick Won’t Stay Lit - Causes & How To Fix?


